

Say je t’aime with a gift basket! DIY baskets are completely customizable to your friend’s favorite treats, making them feel more special and personal. They’re also versatile enough for almost every occasion – birthdays, holidays, congratulations, housewarmings, and more. But before you throw a few items in a basket, ask yourself: What would Michel and Augustin do? Here’s how to make a food gift basket, straight from the Troublemakers of Taste!
It Starts with a Theme
There’s a purpose for every DIY gift basket. Is it a holiday gift? Are they celebrating a birthday? Consider the occasion and who the gift basket is for. This includes their favorite foods and sweet/savory preferences! This will help you customize the gourmet foods and basket to their tastes. For example, individually-wrapped Valentine’s Day cookies are guaranteed to please a chocolate lover during the holiday season, while Cheese Biscuits are a must for a savory Valentine.
Choose Your Basket & Fillers
You’ll need to choose a basket or box for your gourmet goodies. Don’t overthink it! The basket doesn’t need to be overly expensive or fancy (unless you want it to be, of course!). It doesn’t even need to be a basket at all. It could be a tin, gift box, bowl, crate or other on-theme container. Get creative!
You’ll also need some sort of filler, such as tissue paper, shredded paper, or basket filler. This is an important part of how to arrange a gift basket! The filler allows items in your DIY gift basket to sit up nicely. It also helps cushion and protect them from damage.
Think Gourmet!
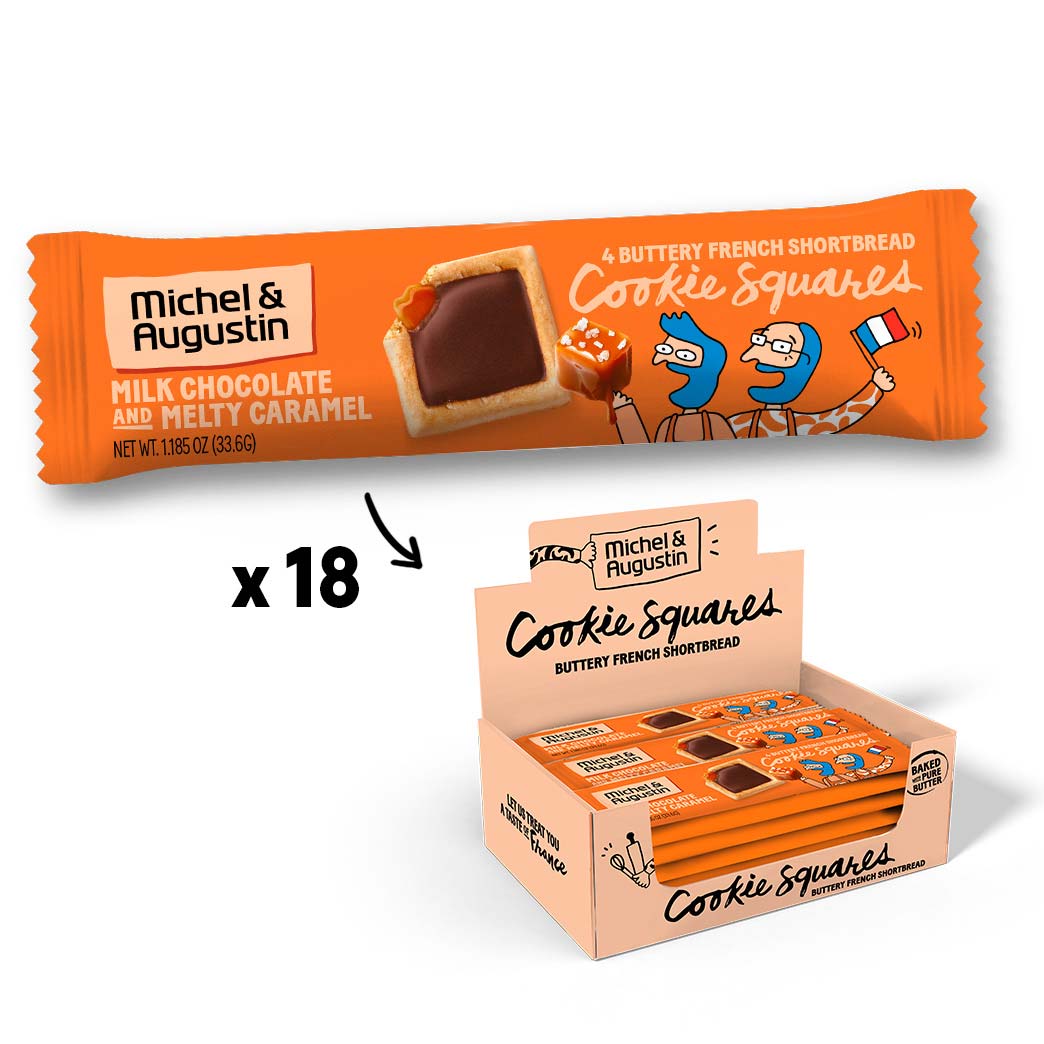
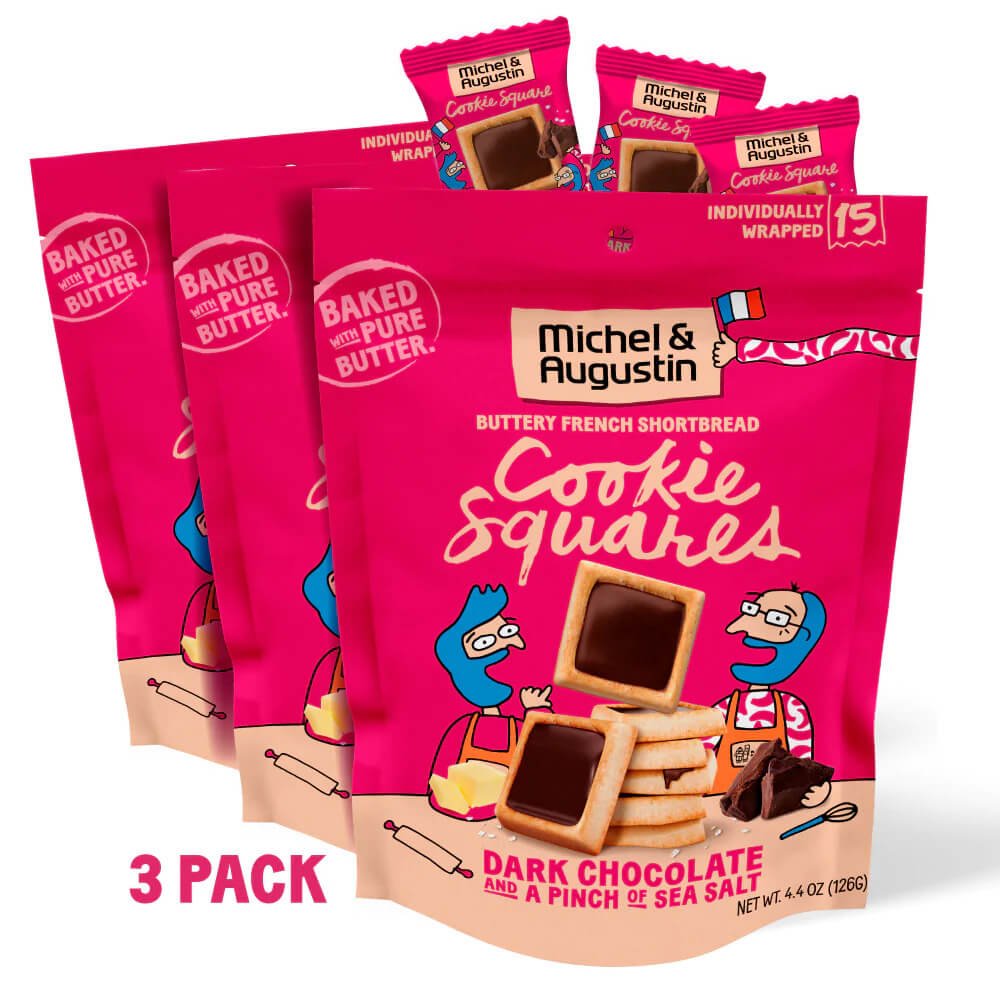
Time for the fun part: picking your gourmet foods! Choose a variety of items based on their tastes, making sure to include a variety of colors, flavors, and sizes. Michel & Augustin Cookie Squares cover all three! These authentic French chocolate cookies are made using real butter and ingredients and come in three flavors for their enjoyment: Dark chocolate and a pinch of sea salt, Milk chocolate and melty caramel and Chocolate and toasted hazelnuts. Each offers just the right amount of sweetness – and comes in colorful packaging for your DIY gift baskets. You can choose one of each flavor or multiples of the same if they have a favorite.
We also like adding Cheese Biscuits for a bit of savoriness. The taste of Parmesan with mustard seeds and Comté with black pepper are the ideal additions to sweet & savory baskets, charcuterie/party platter baskets and more. Finish off the basket with their other go-to snacks or beverages, from wine to gourmet teas. You can also add non-food items, such as coffee mugs, to fill out the basket.
A little tip: Pay attention to the number of items in the basket. Generally, you’ll add around 4-5 items for small baskets, 7-8 for medium baskets and 10+ items for large DIY gift baskets!
How to Arrange a Gift Basket
Gift baskets require two simple things: they must be delicious and they must have a beautiful presentation. Do not just throw their gourmet treats in the basket. Mais non! Follow these steps:
- Gather your gourmet food items, basket and basket filler.
- Add crinkle paper or tissue paper to the bottom of the basket to cushion the snacks and other goodies. You can also use other items instead – new socks, dish towels, etc. – for added practicality.
- Place the heaviest items on the bottom and the tallest items at the back, working your way forward with smaller treats. This ensures balance and that they’ll see all their snacks at a glance.
- Add basket filler or tissue paper between their treats and other gifts to prevent them from accidentally breaking or crumbling. Placing items in mugs or cups helps protect items, while adding depth and visual interest to DIY gift baskets.
- Optional: add a personal card or message to the basket for an extra special touch!
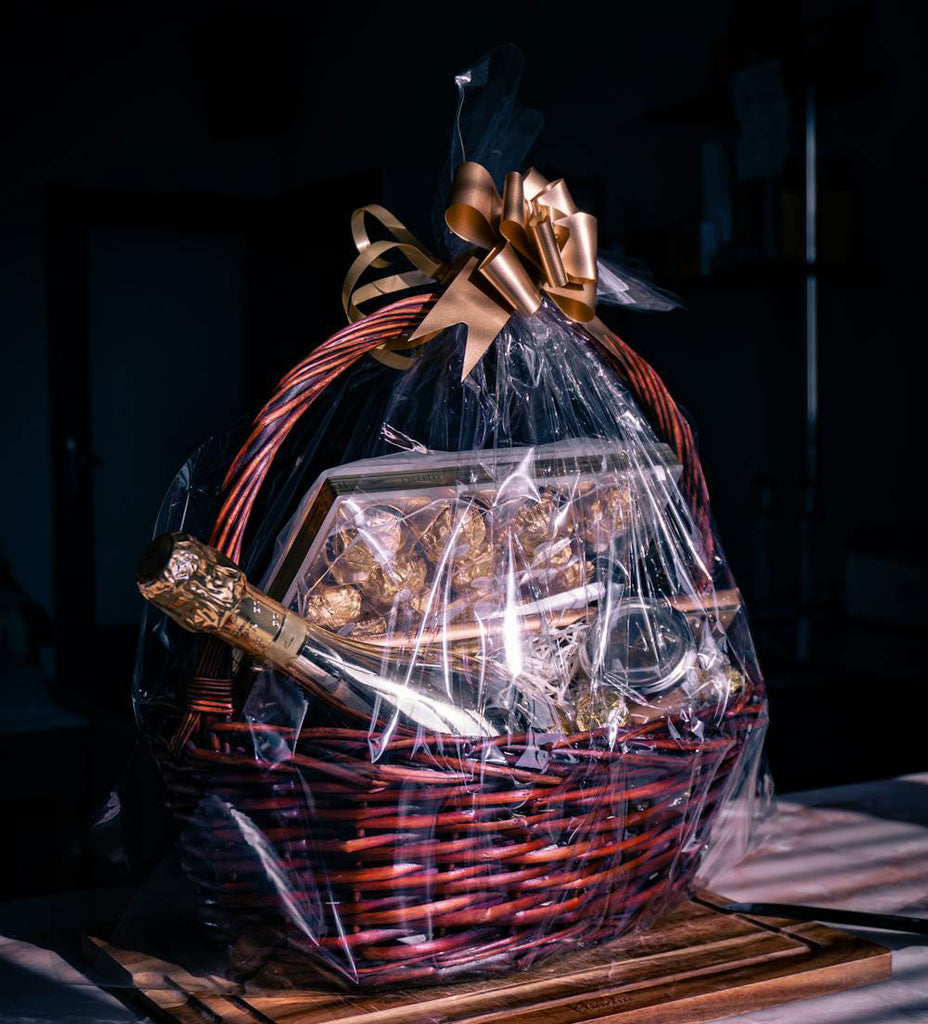
To Wrap or Not to Wrap…
Wrapping gift baskets isn’t necessary, but it can make them feel elevated. They also protect their treats from inclement weather…and hungry snackers in your household! To wrap your basket, you’ll need cellophane and either ribbon, string or twine to secure the basket. Lay the cellophane flat on a table, place the basket down and gather the cellophane at the top of your DIY gift basket. Grab your ribbon and tie it around the cellophane, giving it a tug to make sure it’s secured tightly.
Have different tips for how to make and arrange a food gift basket? Impress your special someone with treats from our e-Bakery? Do share! Post a photo of your DIY gift basket & tag us!
 previous
 Next
Next


